
Documentation Index
Fetch the complete documentation index at: https://docs.chatzy.ai/llms.txt
Use this file to discover all available pages before exploring further.
Adding a Trigger
The first step in creating a journey is selecting a trigger, which is the event that starts the journey.You can choose from several trigger options depending on your use case.
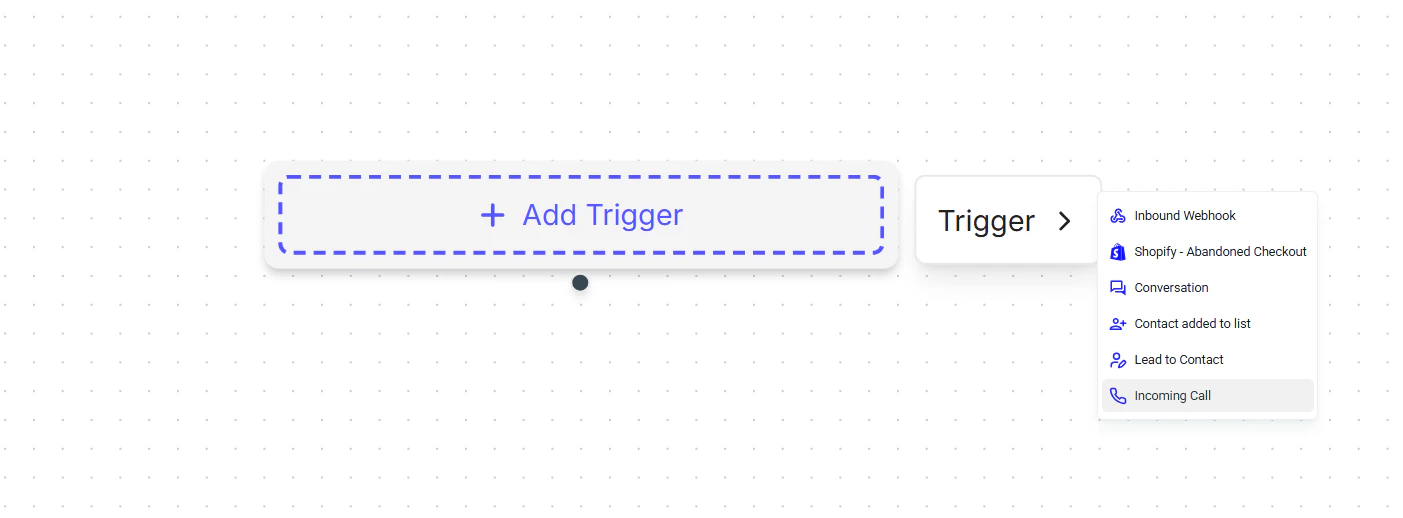
Trigger Types
Inbound Webhook
The Inbound Webhook trigger allows your journey to start when data is sent from an external system, such as CRMs, forms, or even another AI agent within Chatzy AI.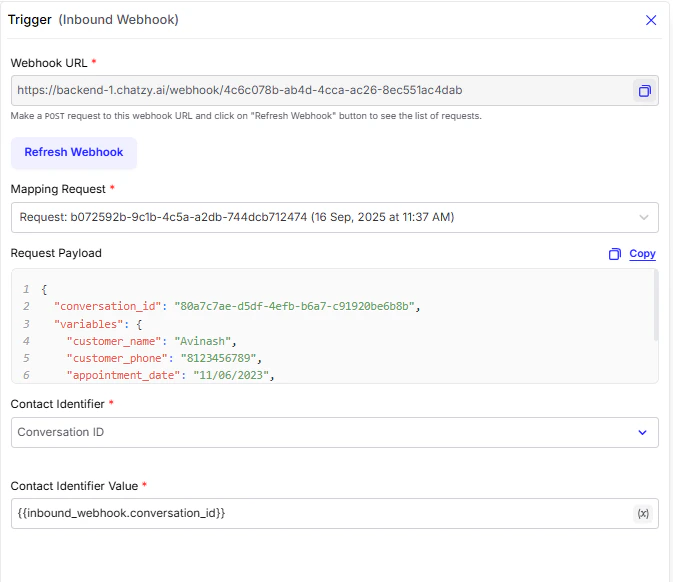
Setup Steps
- Create a unique webhook URL in the platform.
- Configure your external app to send a
POSTrequest to this URL.- Example: Appointment booking details sent to the webhook.
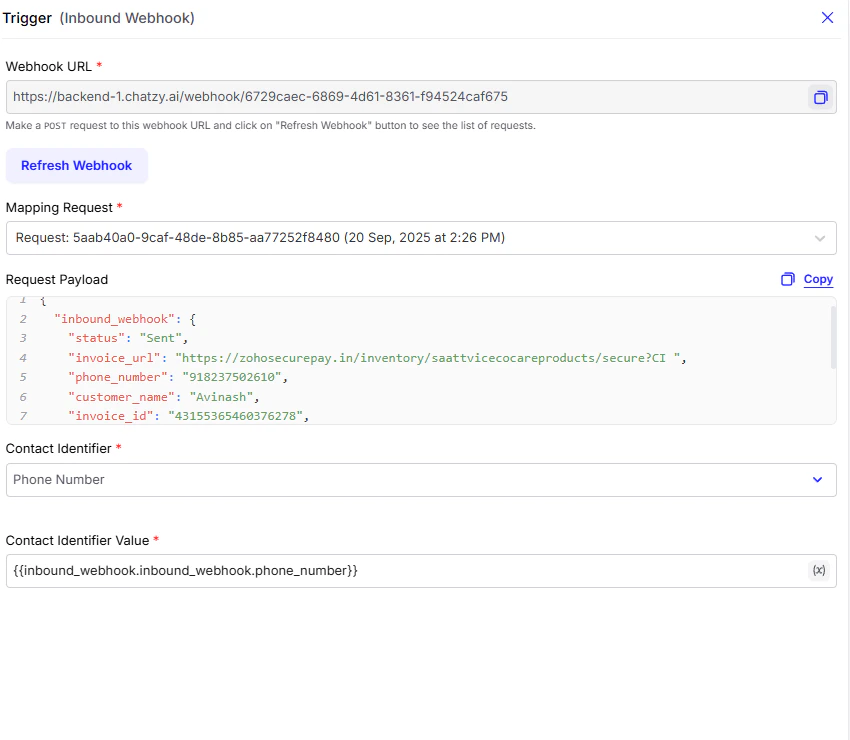
- Refresh the webhook to view incoming data and map fields (for example,
name,phone_number,appointment_date). - Select a contact identifier (for example, phone number or conversation ID).
Using Variables from Your Journey Trigger
When your journey is triggered by an external source like a webhook, the incoming data is stored in a payload. To access specific variables from this payload, use dot notation. Example 1:If your webhook receives data with a
phone_number, reference it like this:
Suppose your inbound webhook payload includes a customer object with a name and email.
Conversation-Based Trigger
Trigger conditions allow you to fine-tune when a journey should run.By enabling these filters, you can ensure your chatbot only responds to specific scenarios such as template replies, keywords, or exclusions.
Conversation Created in Response to a Template Message
Available only on WhatsApp, this condition triggers a journey only when a customer replies to a specific template message you sent earlier. Example:You are running a nurture sequence with two templates: Day 1 and Day 3.
- Journey A handles replies to Day 1 and assigns conversations to AI Agent A.
- Journey B handles replies to Day 3 and assigns conversations to AI Agent B.
Conversation Created Excluding Response to a Template Message
This condition triggers a journey when a new conversation is created unless the conversation was started as a reply to a template message.Use this when you want to handle only organic or non-template-driven conversations. Use Case:
- You send campaign templates that are handled by dedicated journeys.
- You also want a separate journey to handle organic incoming messages (for example, website visitors, direct DMs, or directory lookups).
- Configure one journey with Conversation Created in Response to a Template Message for template replies, and another with Conversation Created Excluding Response to a Template Message to capture all other new conversations.
- A user replies to a Day 1 template → handled by the template-specific journey.
- A user finds your number on the website and messages “Hi” → handled by the journey that excludes template replies.
Conversation Created with Keyword
This condition triggers a journey based on keywords or phrases in the customer’s message. Example:You send a message with two quick reply buttons: Book Appointment and Tell Me More.
- If the user replies with “Book Appointment”, the journey assigns them to an Appointment Booking AI Agent.
- If the user replies with “Tell Me More”, the journey assigns them to a Product Info AI Agent.
Excluding Conditions
Exclusion filters help you build more advanced routing by preventing certain messages from triggering a journey. Example:You have 2 different journeys:
- Journey A → triggers only if the message contains the keyword “Pricing”.
- Journey B → triggers for all messages except those containing “Pricing”.
Default Path
If no conditions are enabled, the journey becomes the default path and triggers on any new conversation. Example:A customer messages “Hi” on WhatsApp.
With no conditions set, your default journey will still run and handle the greeting.
Contact Added to List
This trigger starts a journey whenever a new contact is added to a list (such as onboarding or welcome flows).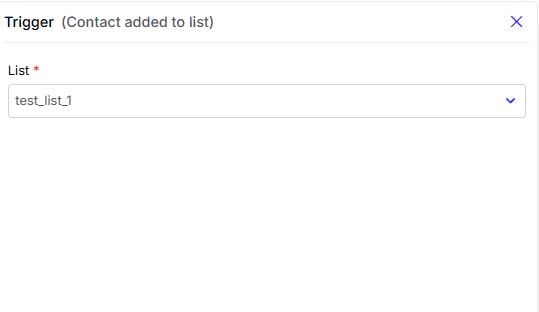
Setup Steps
- Select the target list (for example, New Leads, Newsletter Subscribers, or Trial Users).
- Define the journey actions, such as sending a welcome message, onboarding flow, or automated follow-up.
When a lead is added to the New Leads list, the journey begins with a welcome message and next-step guidance.
Lead to Contact
The Lead to Contact trigger automates the transition of prospects into valuable contacts directly through an interaction with your AI Agent. This trigger fires when a user who starts as a qualified Lead interacts with the AI agent and meets a specific set of criteria defined within the chat flow.Once the qualification condition is met (for example, they provide an Email or Phone number), the system automatically converts that record into a fully qualified Chatzy Contact. This process helps streamline your sales funnel by:
- Qualifying in Real Time: The AI agent handles the entire qualification process.
- Automating Conversion: The lead is instantly promoted to a contact status, ready for follow-up campaigns.
Configuration Field
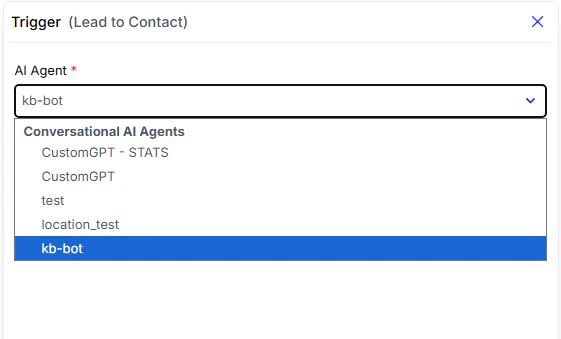
- AI Agent: This dropdown allows you to select the specific AI Agent that will be used by this trigger.
You can choose between:- Conversational AI Agents (Free will bots).
- Flow-Based AI Agents (Rule-based bots).
It ensures that contacts are captured, qualified, and team members are instantly notified.
Step 1: Enable Data Collection (Base Prompt)
Enable the chatbot to collect the necessary contact details.- Action: Go to Base Prompt and turn the Collect Details toggle On.
- Purpose: This allows the chatbot to automatically capture key lead information such as Name, Phone, or Email during the conversation.
These collected details will appear in the Leads section of your dashboard.
Step 2: Configure Lead Notifications and Qualification
Set the rules for when a lead is considered qualified and who should be notified.- Action: Go to the Dashboard - Notifications settings.
- Receive New Leads on Email: Enable this toggle to receive instant alerts for qualified leads.
Note: Leads are emailed to all team members except those with the Agent role.
- Lead Qualification: Enter the condition that must be met for a lead to be considered qualified (for example,
email_idis present). - Frequency: Set how often notifications should be processed and sent.
- Extract Entities: Enable this to allow automatic extraction of important data points from the conversation.
Step 3: Enable Lead-to-Contact Conversion (Utilities)
Enable the automatic conversion of qualified leads into permanent contacts.- Action: Go to the Utilities tab and enable the Convert Leads to Contacts toggle.
- Purpose: This links qualified leads from the chatbot directly to your platform’s permanent Contacts list.
Incoming Call Trigger (WhatsApp Exclusive)
The Incoming Call Trigger is a specialized trigger exclusive to the WhatsApp channel. It is used to assign a dedicated Voice AI Agent to automatically answer any incoming WhatsApp voice call.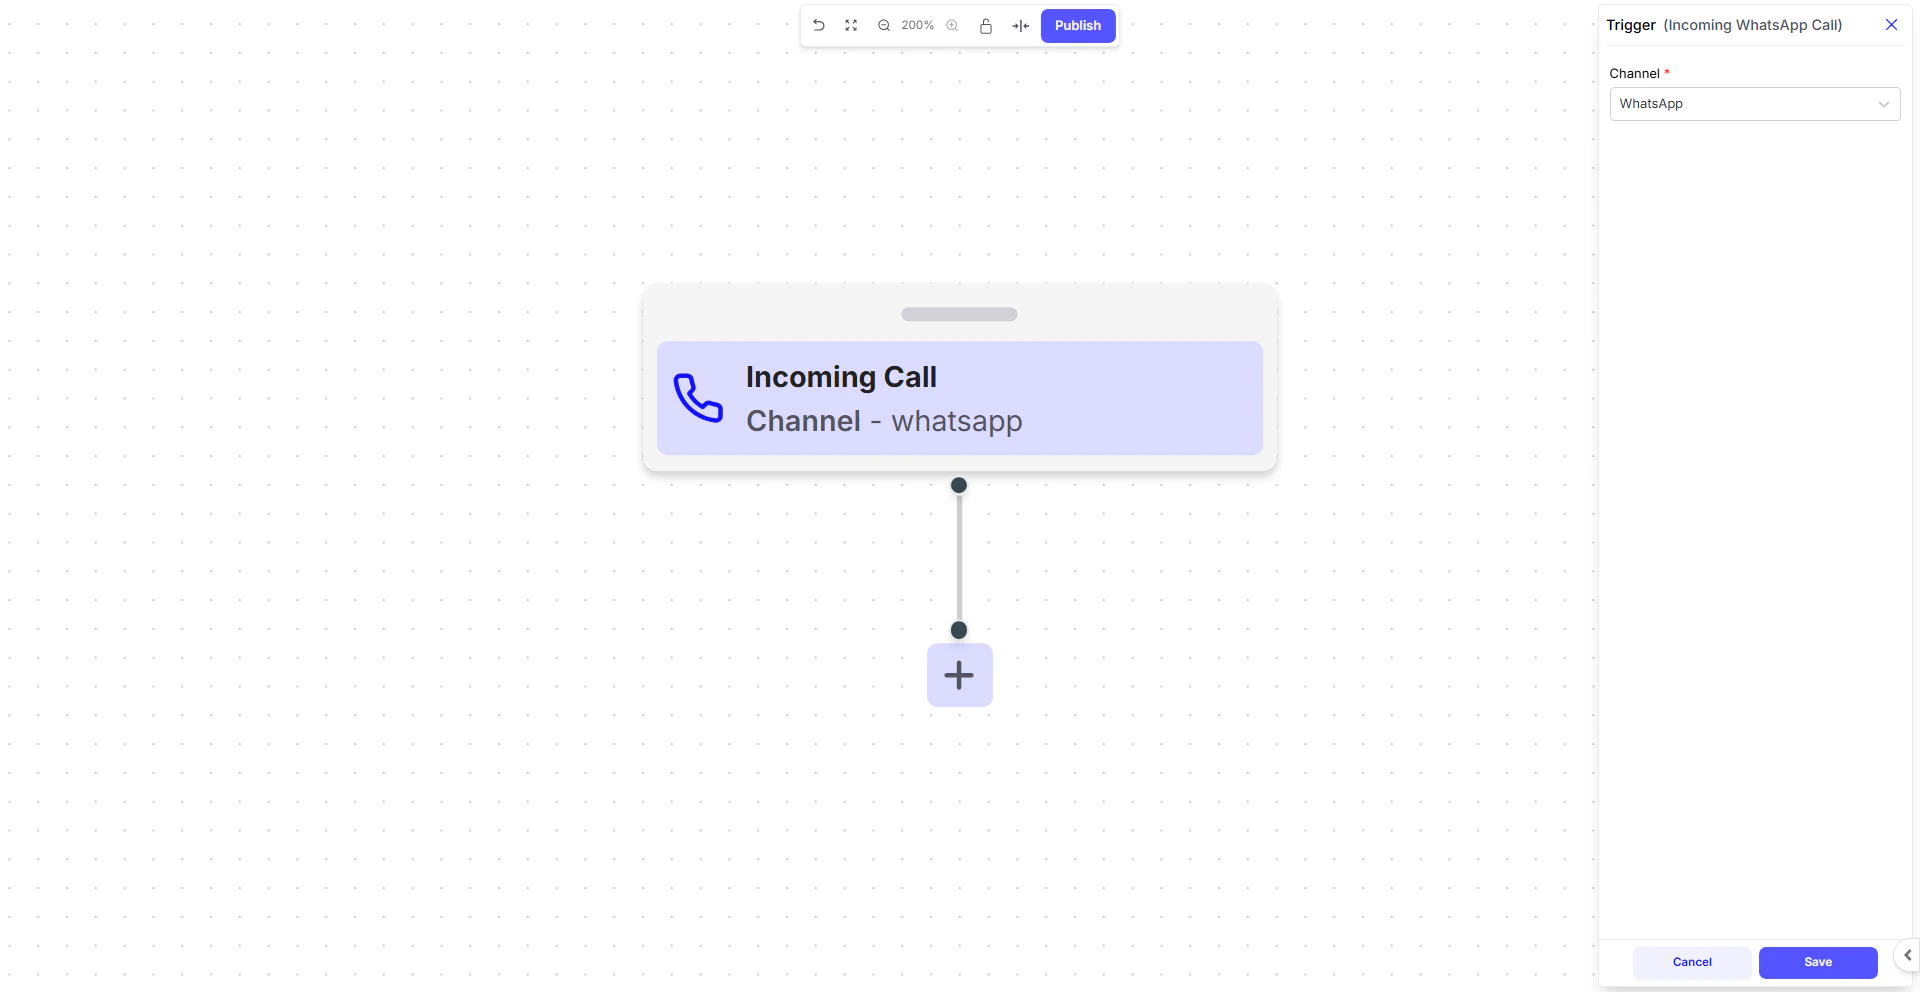
- Answer Instantly: Ensure every incoming WhatsApp call is handled immediately, 24/7.
- Automate Voice Tasks: Use your Voice AI Agent to manage common call functions like appointment booking, qualification, or providing information through natural conversation.